BMW 760i Repairs page 5
Troubleshooting a Cyl 10 misfire
New trunk struts and hydraulic actuator
New front struts, inner tie rods and wheel bearings
Rear suspension refresh and alignment
Drivers door brake repair
July 2024, Troubleshooting a Cylinder 10 misfire
It's mid 2024 and the car developed a misfire in Phoenix. Not having the tools to fix it there I shipped it back to California to fix this and a few other things...
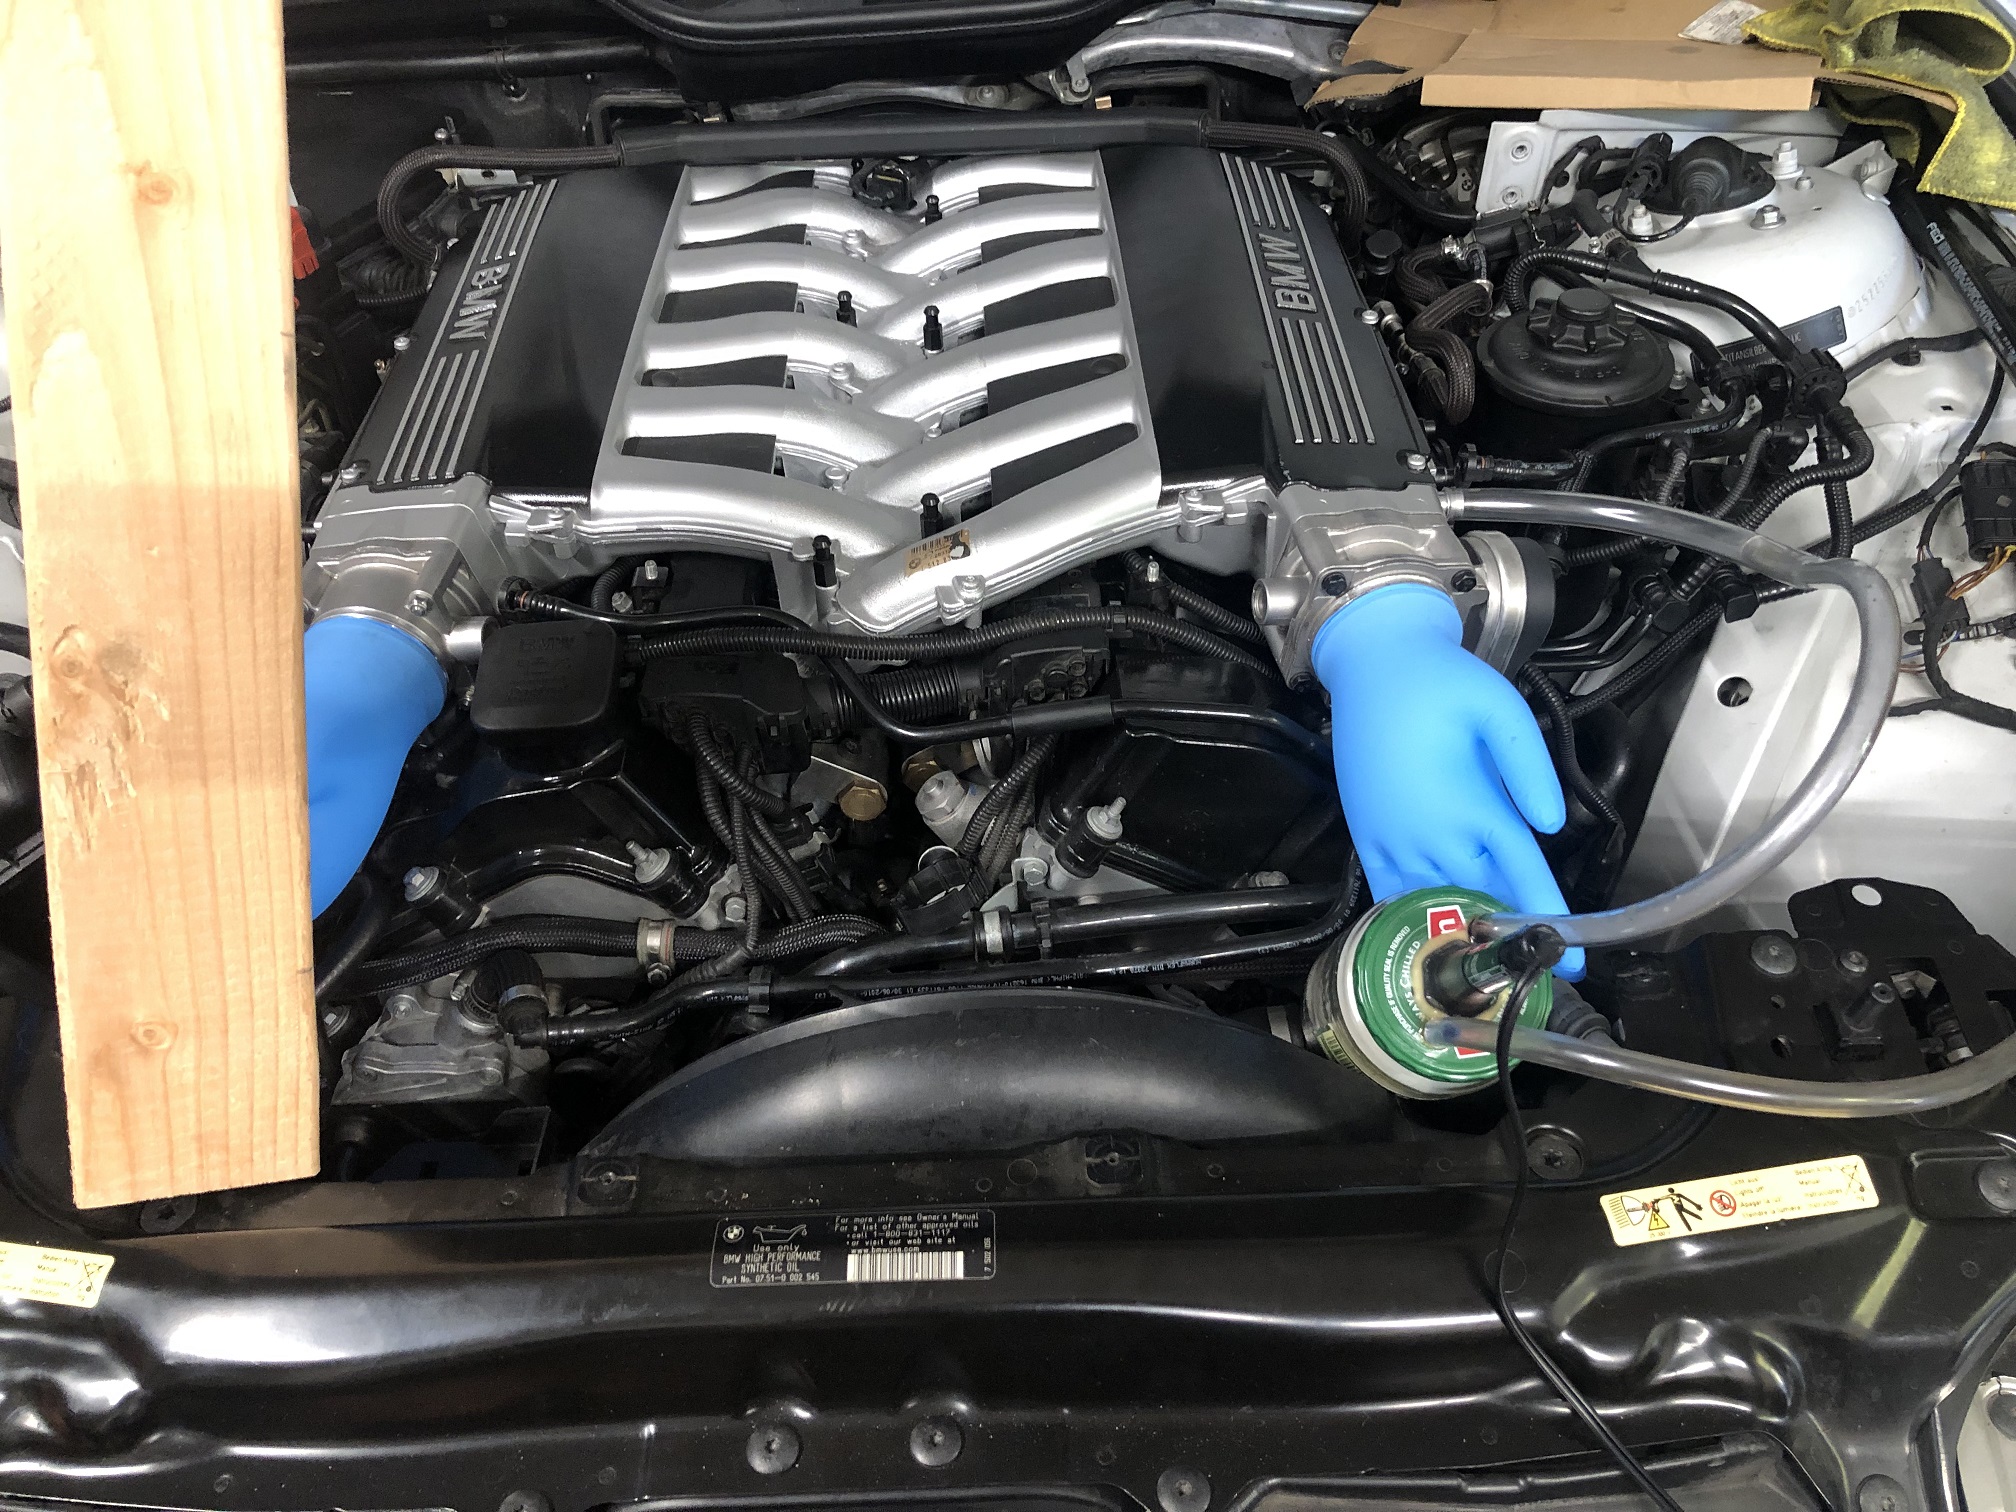
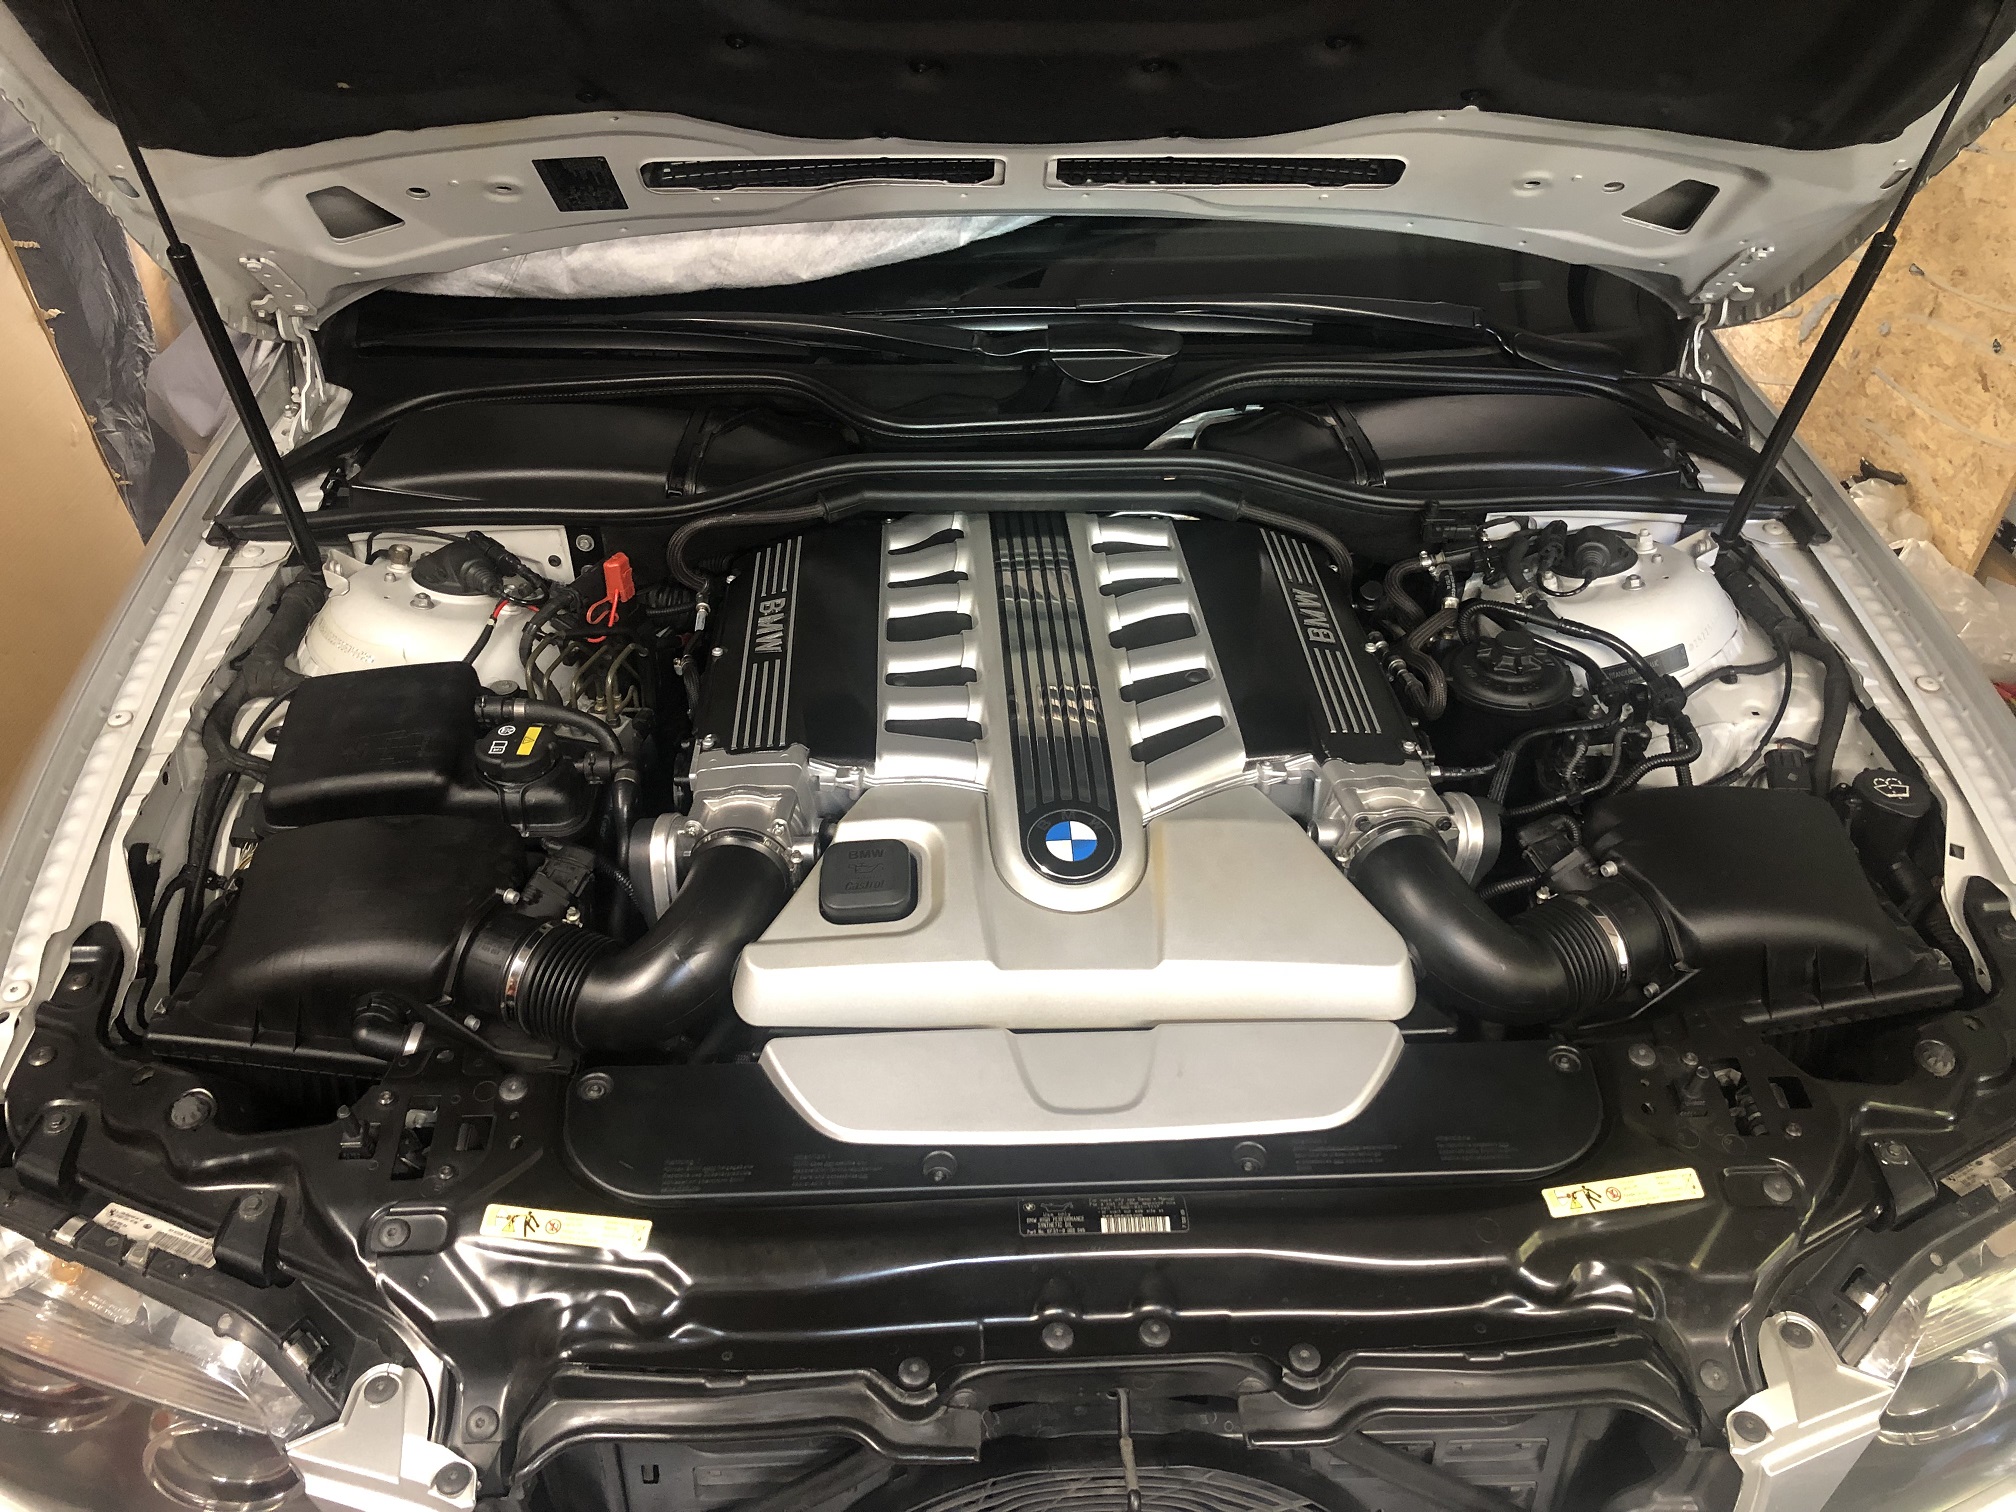
For this job, disconnecting the hood struts and propping the hood open in 'service mode' makes access a lot easier... I should have done this sooner!
The car had been relatively trouble free for a year or more but I don't drive it often. Then one day it suddenly hiccupped and ran rough... I got a consistent Cyl 10 misfire (if I clear the error and checked the car a few days later and I got exactly the same error again).
First thing I did was remove the intake plenum and check all the plugs and coils. There was nothing obviously wrong.
Cyl 10 spark plug (on the right) looks a little blacker than the others which were all identical to one on left. They are all relatively new and have only a few thousand miles on them.
I swapped the Cyl 10 coil and plug with cyl 7...
After reinstalling the intake plenum and associated pieces I started the engine and... multiple misfires on all cylinders bank2! Why had it got so much worse?
I then noticed the exhaust manifold on Bank2 was not warming up at all where as bank1 was too hot to touch! Clearly Bank2 was shut down!
After a lot of troubleshooting I finally realized that when I reinstalled the intake plenum I only tightened the bolts on Bank 1 and was getting unmetered air into Bank 2 causing all the cylinders to misfire! After I tightened the plenum bolts on Bank2 side I was able to consistently reproduce the original fault... misfire on cyl 10. Swapping cyl 7 and 10 plug and coil had made no difference.
Next I decided to check some of the electrical signals...
Each bank of this engine has its own computer (DME) and fuel injection module (HDEV). All are mounted in the engine bay e-box. There's also a VVT module (variable valve timing) and the IVM module (power distribution/relays).
These diagrams (below) show the signals I was interested in...
There is a pressure sensor in each high pressure fuel rail and you should get about 2V on this pin but you can also look at fuel rail pressure in ISTA under DME ECU Functions. Mine were both good at 3.0Mpa so this isn't the issue.
Next I looked at the Ignition primary signals on the DME (signals to the ignition coils). Ignition is multi-spark... firing 5 or 6 times in fast repetition (at least when idling after first starting the car). The images below were captured separately... pic on left was from cold start and has 6 spark events, pic on right a few mins later has only 5 spark events.
I'm sure the injectors push in extra fuel to start the car and the multi-spark is to ensure all fuel is burned. There may be less sparks after it is warmed up.
What is interesting in the pics below is Cyl 7 and 12 (i only checked these in addition to cyl 10) have a very similar response of a higher initial peak voltage followed by relatively consistent peaks but Cyl 10 is much more erratic with higher peaks. I'm guessing this is a clue as to what is wrong here... perhaps an indication of less fuel in the cylinder or poor atomization (I'm suspecting the GDI injector).
Here's a closer look at cyl 12 and 10... 450V pks! Waveforms are pretty much textbook with nice flat burn lines (flat section after each peak).
Next I looked at the fuel injector signals..
Cyl 9 and 10 look identical... there is no indication here that there is a problem with injector 10. These are textbook GDI + and - waveforms.
Here's what they look like zoomed out... + is driven on every cycle but - on every other cycle (look closely). This is due to the internal architecture of the HDEV (shared drivers).
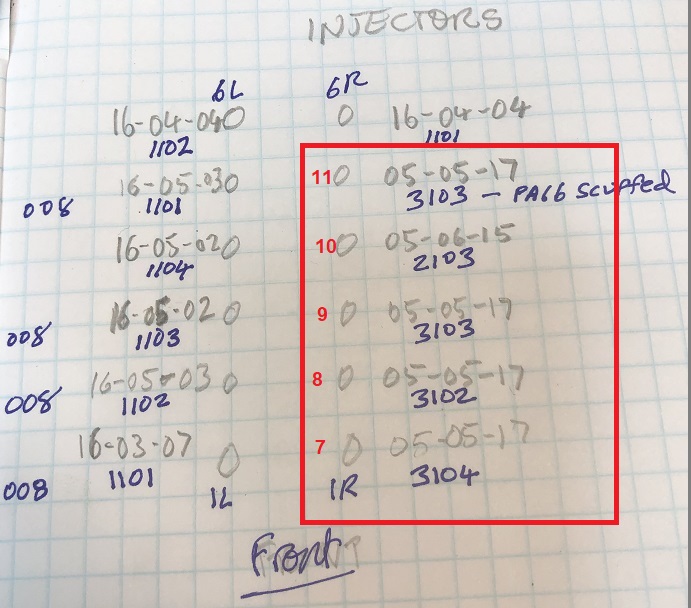
The last time i had the injectors out I was surprised to find 7 of them were almost brand new and remaining 5 original (by date codes). The car also had a full set of brand new ignition coils! None of this documented in the large stack of receipts I got with the car... a nice surprise!
Cyl 10 and infact cylinders 7-11 in Bank 2 are all running the original (date code 2005) injectors. I documented this the last time I had this apart and my plan now is to replace all 5 of these...

It only took a couple hours to remove injector 10... the car is easy to work on now as all hardware is clean and has anti-seize applied before being torqued correctly. There is nothing visibly unusual about the removed injector (I didnt ex[ect there would be).
When I ordered these I was a bit skeptical but I received 5 x brand new Bosch injectors for a great price... $50 ea! They are sealed in Bosch packaging with holgraphic tamper seal that checks out good on their website.
2016 date code which is same yr as the other 7 injectors in the car already.
Installation is straightforward but a pretty big job.
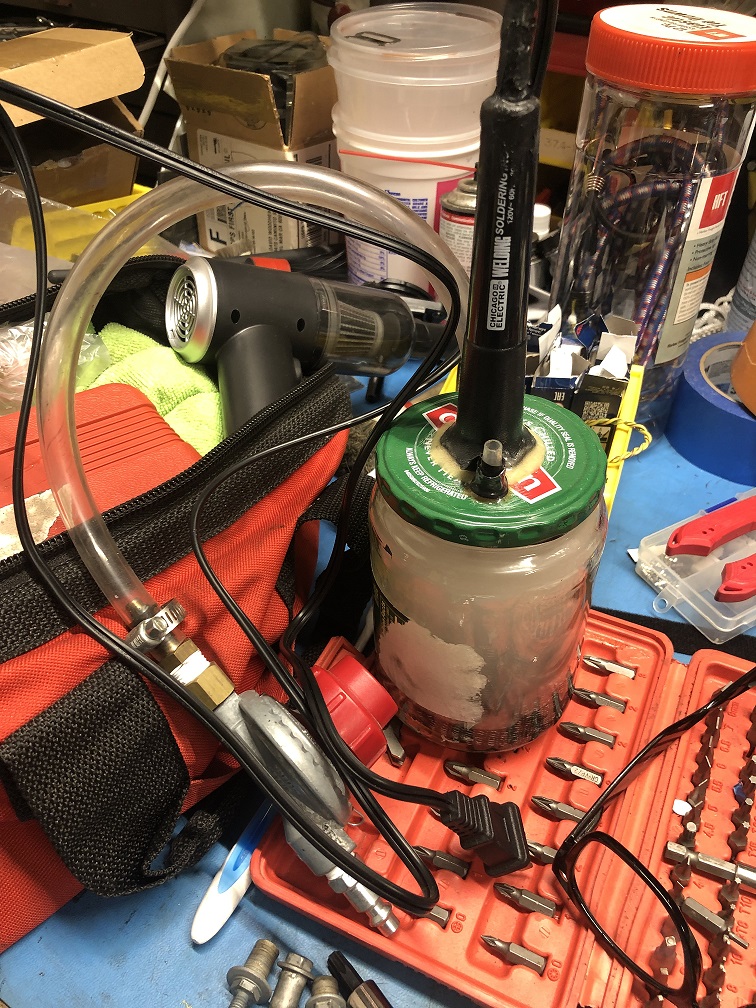
I did a smoke test with homemade smoke machine after it was all back together to make sure the intake manifold was sealed...


All back together, cleaned up and she's FIXED!
Smoothness values are now less than 0.5 on all 12 cylinders.

August 2024, New trunk struts and hydraulic actuator
As you can see in the pic below the hydraulic trunk actuator is leaking. Actually it has been leaking for a long time and the module directly below it was full of hydraulic fluid!
It still worked but the fluid level was low. Every time I opened the trunk I could smell it. When the trunk closed it would flop down at about 3/4 closed... the gas charged struts were shot too!
The gas struts are tucked up in there... one on each side.
Passenger side below... have to remove actuator drip tray and the ECU.
Driver side...
Removed struts are original to car with 0605 date codes.
New and old driver side gas strut...
I purchased this Hydraulic Actuator on Ebay for a little over $100
But it was defective and I had to send it back and buy another.
The second one I received was also defective! In both cases it appeared the hose labeled with red tape was blocked. On the 2nd unit I decided to investigate before returning it... the nipple at one end of the cylinder was clogged with machining debris!
After cleaning this out and rebuilding it, I got it to work! Bleeding the air out is a bit of a challenge and it will not work correctly until doing so. The best method I found was to place the actuator on the ground and the pump as high above it as possible... actuate it a few times to bleed the air out.
Actuator attaches to pump with 2 hoses.
With everything back together and the air bled out the system the trunk opens and closes far more deliberately and at a constant speed. It no longer flops down when closing and no more leaks!
The hydraulic actuator hoses are a little stiffer and thicker than the original part and apart from the quality issue it seems to work well. After a couple months use there are no leaks whatsover.
August 2024, New front struts, inner tie rods and wheel bearings
I purchased these near new Bilstein EDC struts from a local scrap yard 3 yrs ago and finally got around to installing them on my car. These were removed from a 760Li and I got a great deal on them... these have EDC and are ~ $800 ea new! Strut bearings/mounts and springs were also new!
The ride height was a bit off so I had to do this job twice... 2nd time around I swapped out the springs for my original springs and moved the protective gaiters over from my original struts. The strut bearings on the Bilsteins were new so I kept those... in fact the springs on the Bilsteins looked to be brand new alsowith BMW p/n stickers on them but the 760Li must ride a little higher than my 760i.
The old struts are original to car and one of them was completely shot... zero gas pressure.
The outer tie rods were replaced just a few thousand miles ago. The innners were not particularly bad but I elected to replace them so everything on the front suspension has now been replaced.
I got a great deal on a pair of new FAG wheel bearings so I decided to swap those out too while I was in there...
All back together with my original springs and protective gaiters installed (rotors, pads and control arms were swapped out not long ago so everything at the front wheels is renewed now!
August 2024, Rear suspension rebuild
The car developed a loud thud at the rear when going over speed bumps. I'm still not sure what it is but decided I would replace everything on the rear end starting with the rear sub-frame bushings which ECS had on sale for $15 ea (Meyle brand) so I grabbed a set (4).
With the right tools this job is easy...
The tool on the right was purchased on Amazon (~$60) and is intended for E53 X5 subframe bushings which are pretty much identical in size to the E65 bushings... it fits perfectly, is well made, and makes the job easy! That is except for the receiving cup which does not fit the E65 sub-frame. In place of it I used the tool on the left from Forsvara Engineering (~$80). I knocked out the bronze bushing on the end cap of this tool and then the hole was the perfect size for the much beefier lead screw in the E53 kit.
First job is to bleed off the air shocks then lift the car, remove rear wheels, exhaust system, brake rotors, brake shoes, wheel liners and disconnect the parking brake cables which are a bit too short to drop the sub-frame when attached.
Disconnect and plug the hydraulic lines for the rear active stabilizer bar. Mark the position of the bushings to ensure they are re-installed in same orientation (important).
Remove the bolts holding sub-frame to chassis, support and lower the rear sub-frame with a transmission jack under the differential just enough to access top of the sub-frame bushings. Drive shaft remains attached to differential.
Now to replace the bushings....
Apply heat to sub-frame around the bushing with a heat gun to help soften the rubber... then press out as shown below. The bushings are in there tight but this tool makes it easy to remove them with no risk of damage to the aluminum subframe.
For the front bushings I used foil to prevent heating the plastic gas tank when applying heat around the bushings.
Tool configuration for bushing removal.
To install new bushings apply water based assembly lubricant to bushing and sub-frame... they will press in easily and this stuff evaporates/dissolves quickly. I left them a week after doing this before bolting back up to the chassis. One small tube of P80 lubricant was sufficient for all 4 bushings.
Below is the tool configuration to install the new bushings. Be sure to line them up correctly... to the marks previously drawn on the subframe.
New bushing installed...
New damping pad...
Original damping pads almost completely disintegrated... I made my own thin ones as they were back ordered (QTY 4) but the 2 thick ones I was able to source.
New control arms installed (TRW brand)...
New Ball joint (TRW) and integral link (Lemforder).
New bushings for the lower swing arm (Lemfroder)...
The removed parts... surprisingly none were particularly bad even after 140K mi and they are original to the car! The ball joint boots have disintegrated but the joints themselves were still tight! This car was used mainly to commute long distance and does not look like your average 140K mi car.
I also installed these used Bilstein rear air shocks that I found at the junk yard! They don't appear to have seen much use.
With it all back together time to start tightening the bolts... many must be done with the suspension at ride height...
I used ISTA to read the ride height sensor and jacked up the wheel hub until the state reads zero. Air shocks have been bled down to their minimum pressure.
Adjust the camber for -2 deg (mine was way off prior to this work). Toe will be tweaked later... for now the eccentric bolts are positioned as they were prior to disassembly when the toe was spot on. Toe and Camber adjustments do affect each other a little.
Inexpensive camber tool is more than adequate. Just need to zero it using a high quality level beforehand. Of course the car needs to be level (verified with a 6ft level under the jack points).
Rear toe was initially set with 2 x 6ft levels as in my front end alignment... I adjusted for 3/8" of absolute toe. But it is also necessary to make sure the toe is centered on directly ahead... for this i use the outer grooves down the surface of each level to sight in a plumbline hanging at the front wheel.
After every thing was adjusted to be spot on, I made this laser fixture to support easy replication of these adjustments and to allow tightening all bolts with the wheels off (hub raised to normal height).
Feb 2025, Drivers door brake repair
This is a common issue with the E65... The door does not hold its position when opened.
First task is to remove the door card
Then unplug everything and remove the speaker and large white module. You can then remove the vapor barrier.
Now you can see the problem...
I replaced the disintegrating bushing with an inexpensive replacement available on Aliexpress. I coated it with silicone lube before install and it went in easily and the door now holds its position perfectly!